Patterns for tamagotchi cases

TamaTalk

Help Support TamaTalk:

This site may earn a commission from merchant affiliate links, including eBay, Amazon, and others.
Status
Not open for further replies.

Eggiweg

Well-known member
Joined
May 17, 2018
Messages
707
Reaction score
1,034
Location
Australia
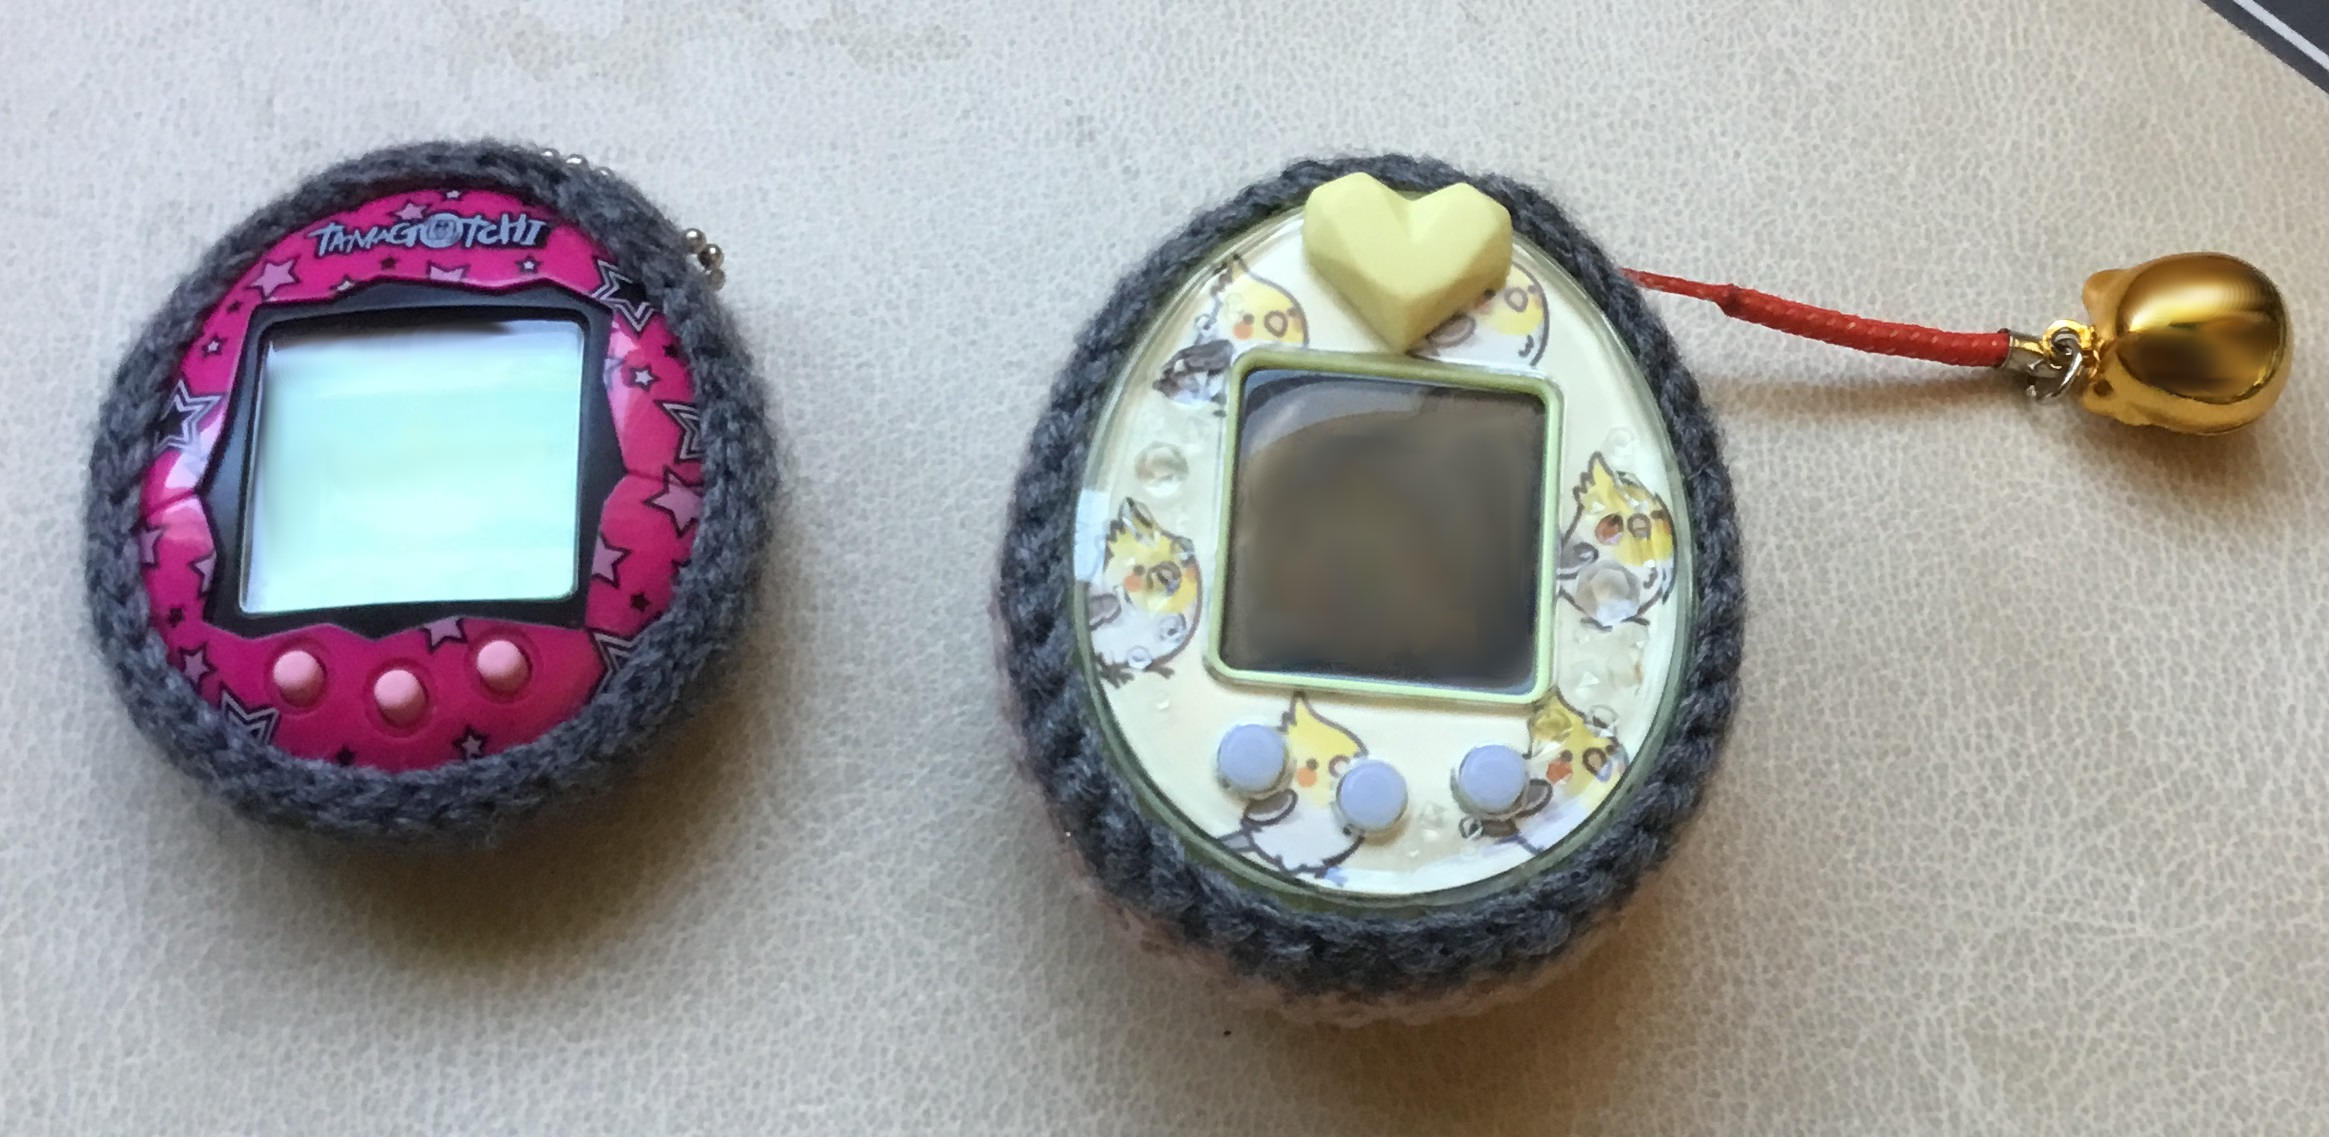
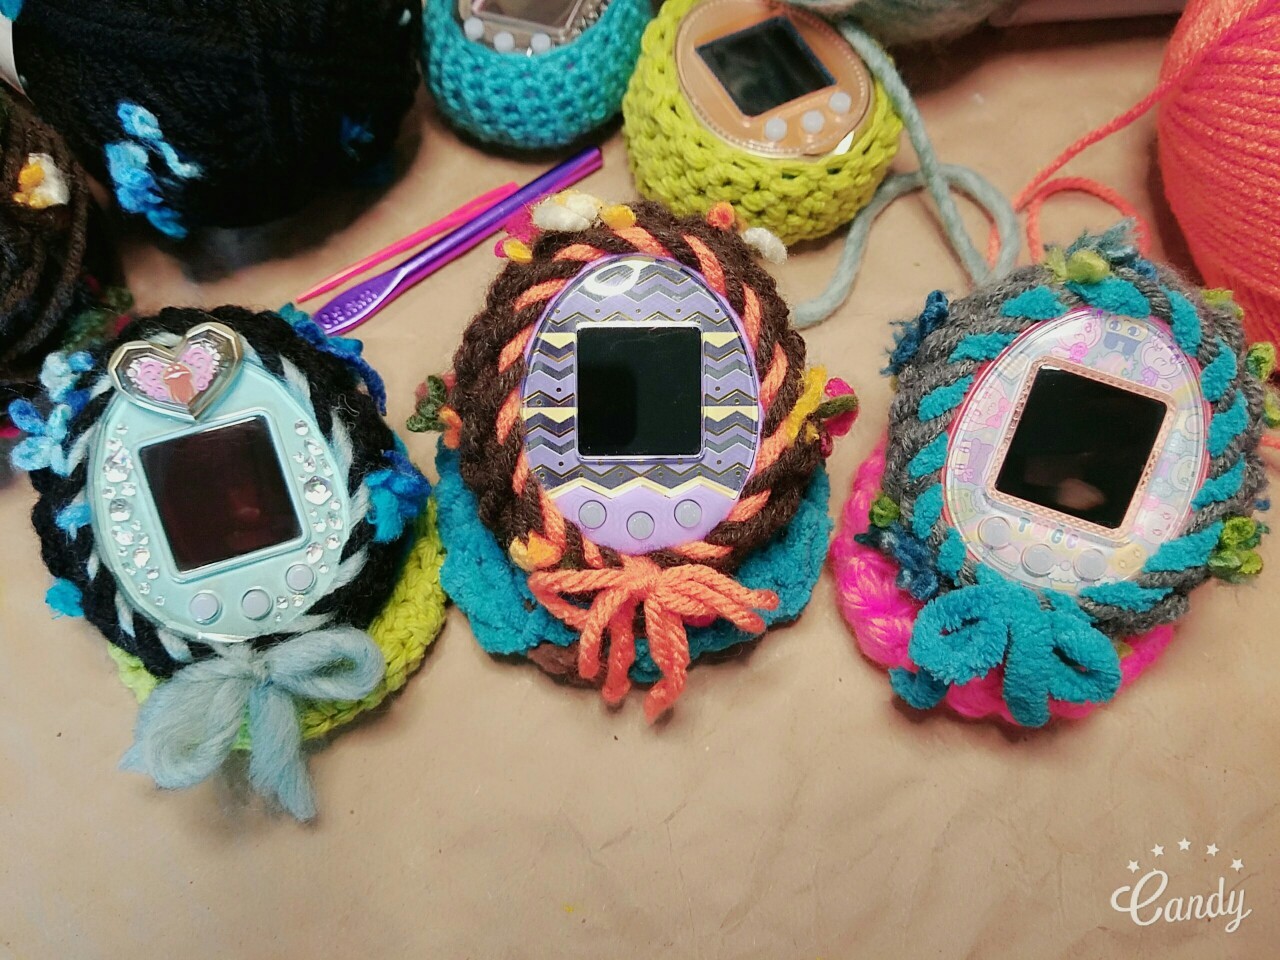
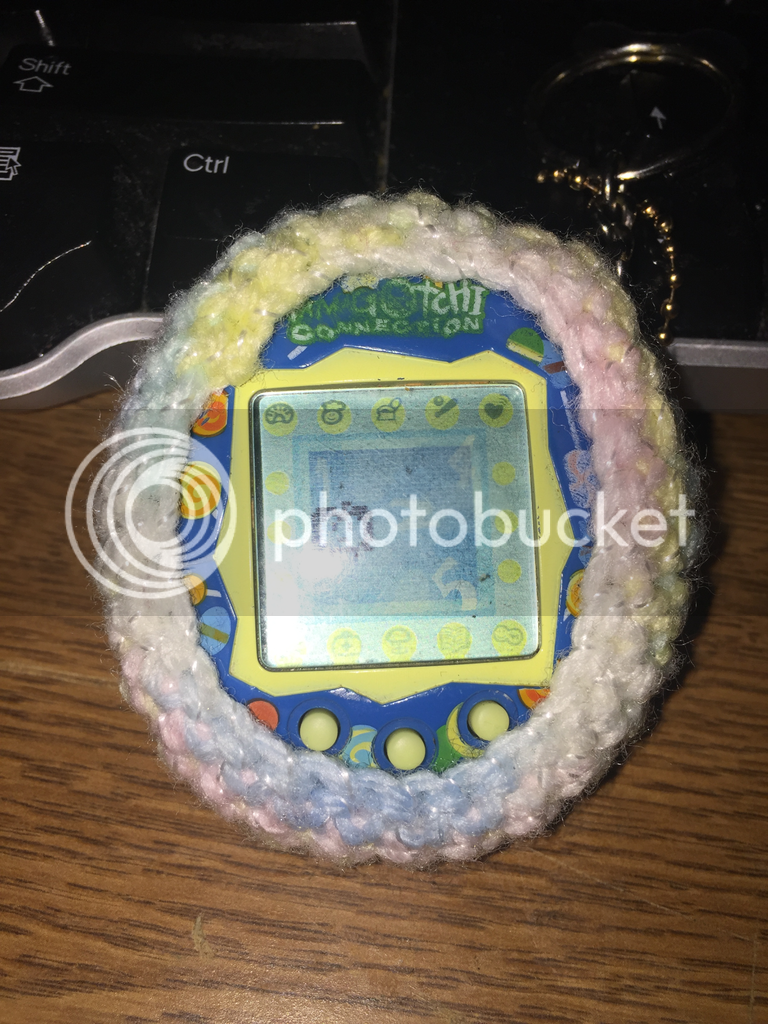
I've been making some cases for my tamas and there aren't a lot of free patterns out there so I thought I'd share.

IMG_0358.jpg


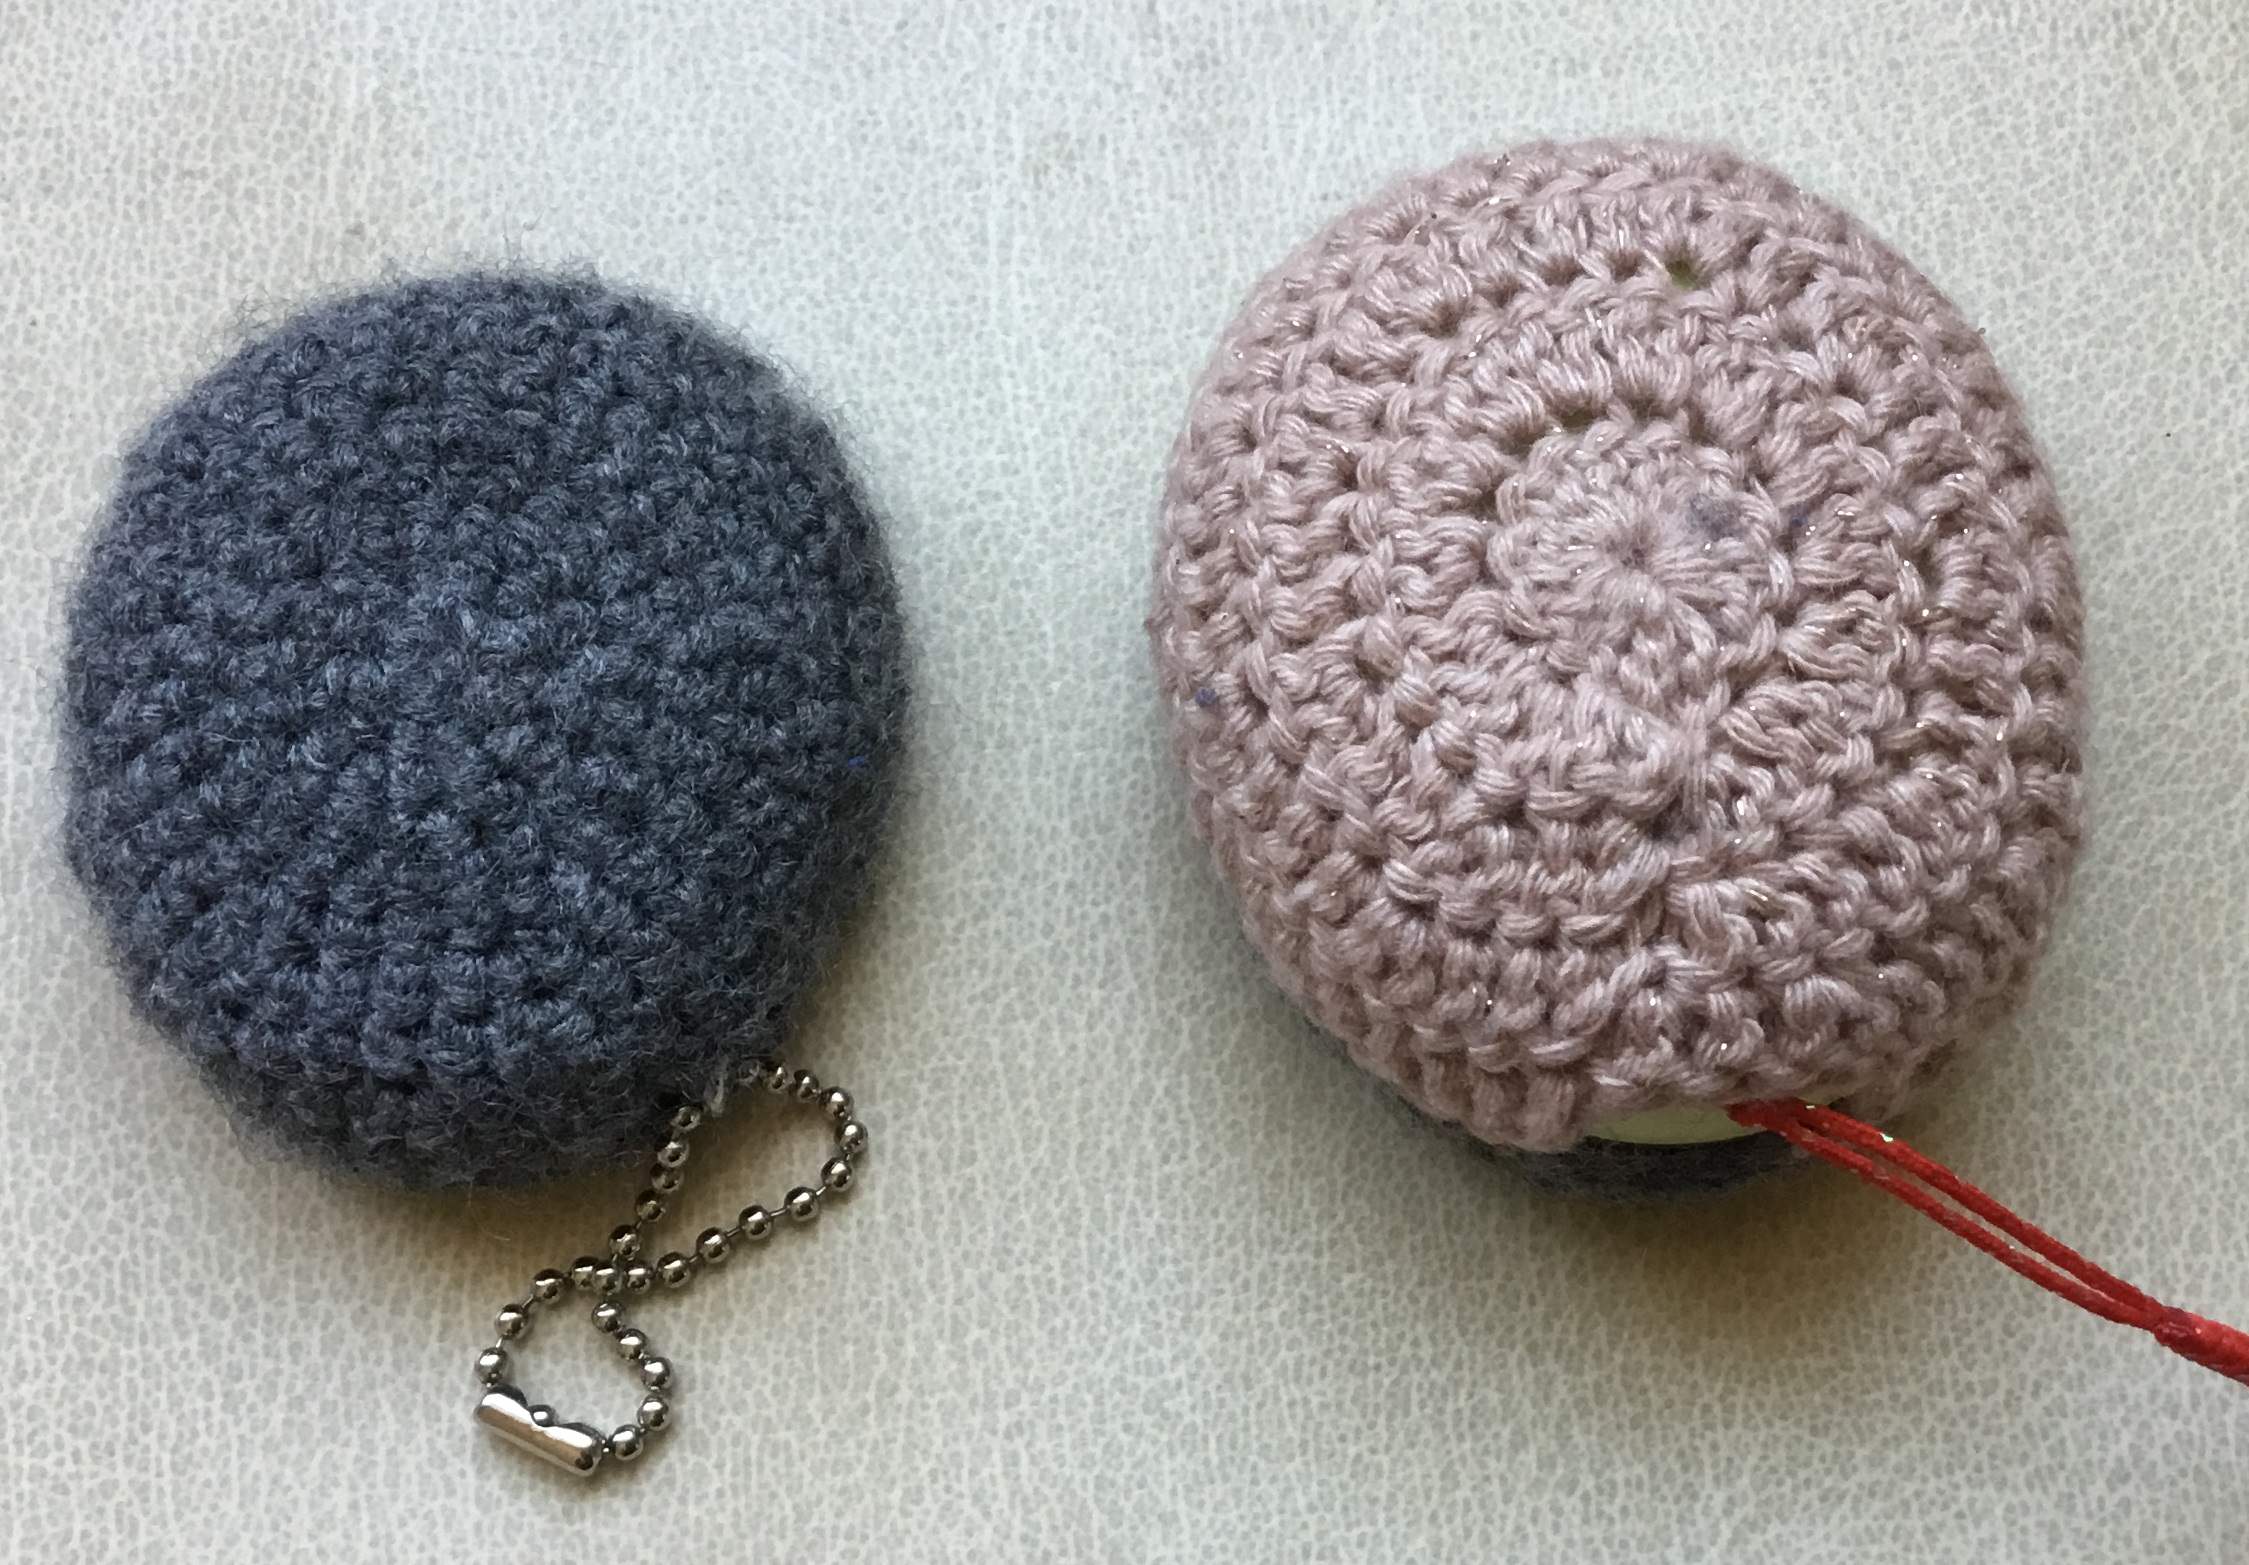
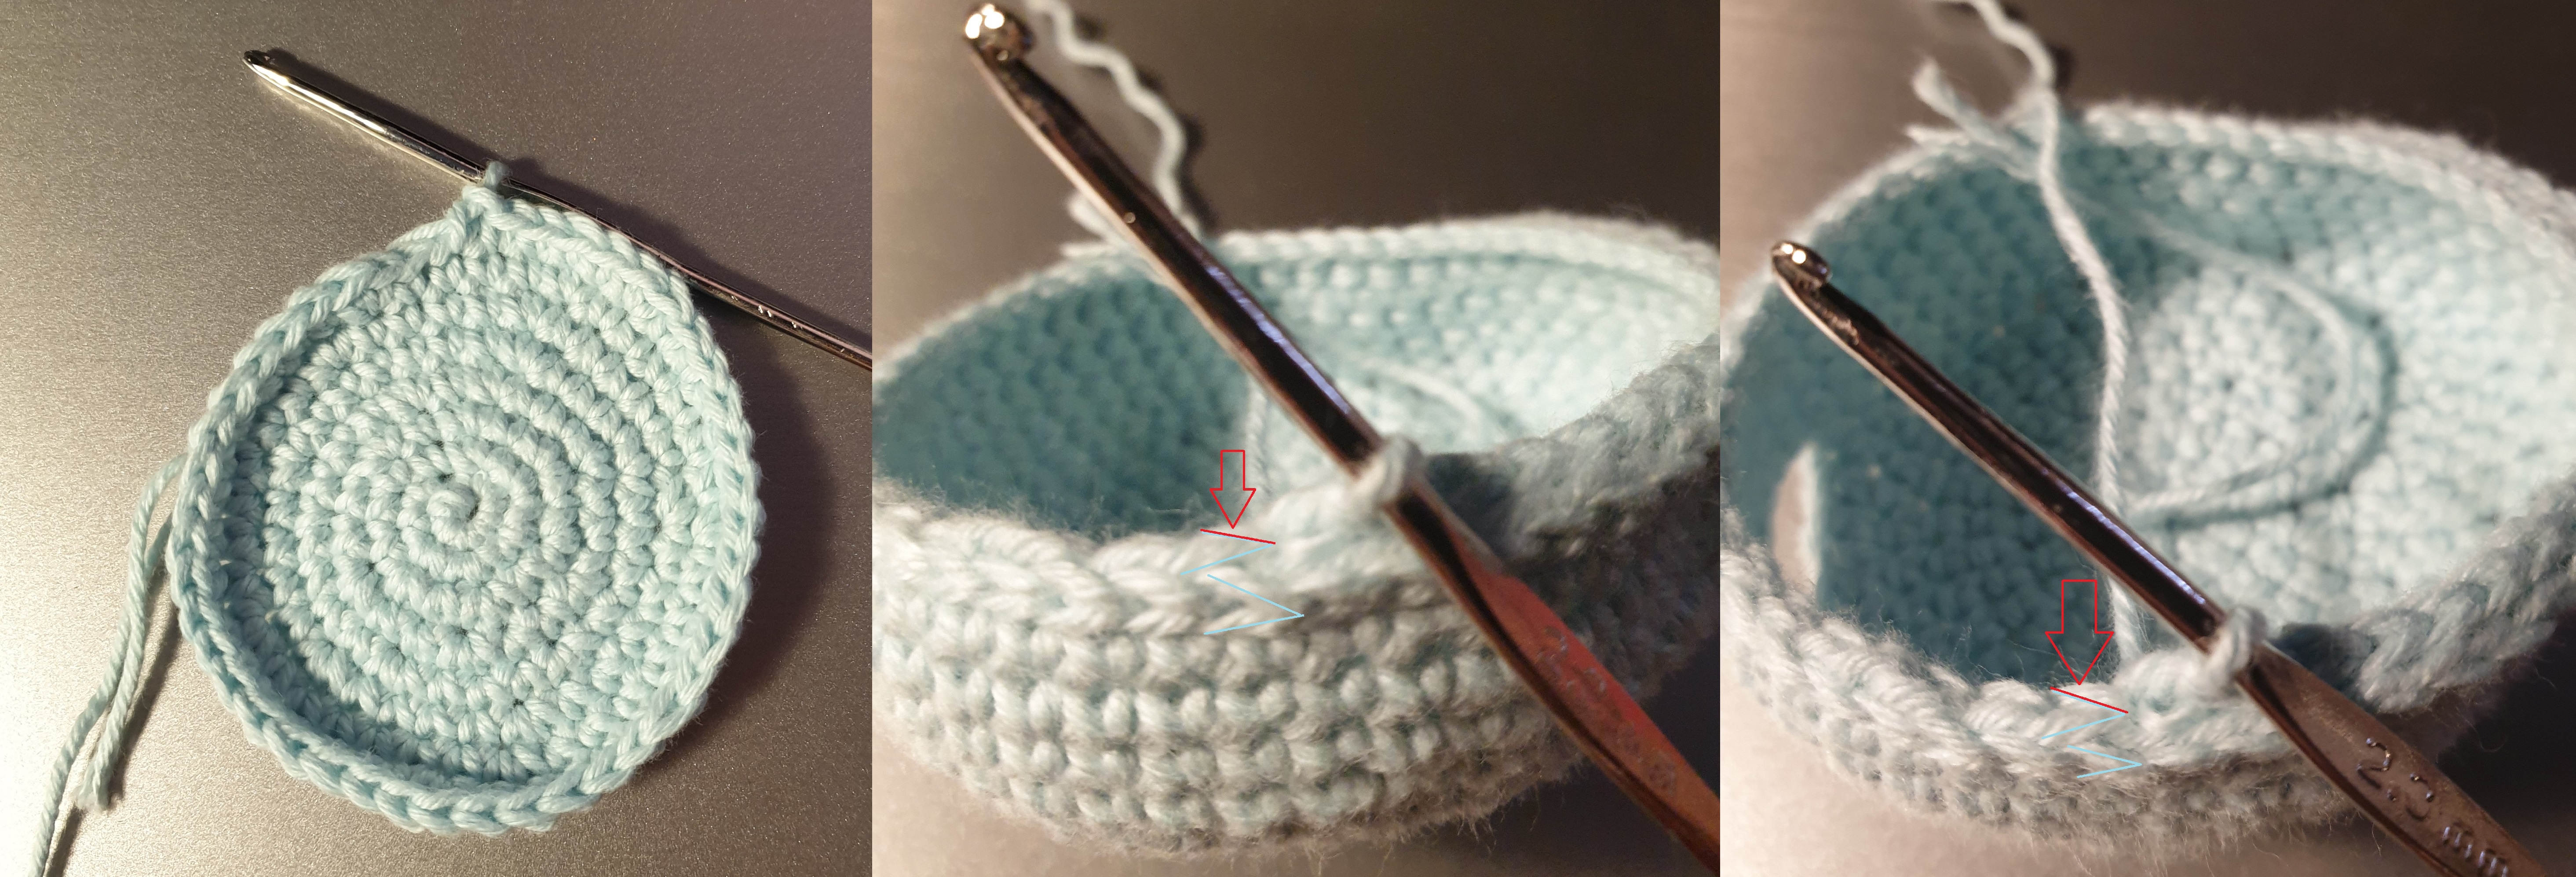
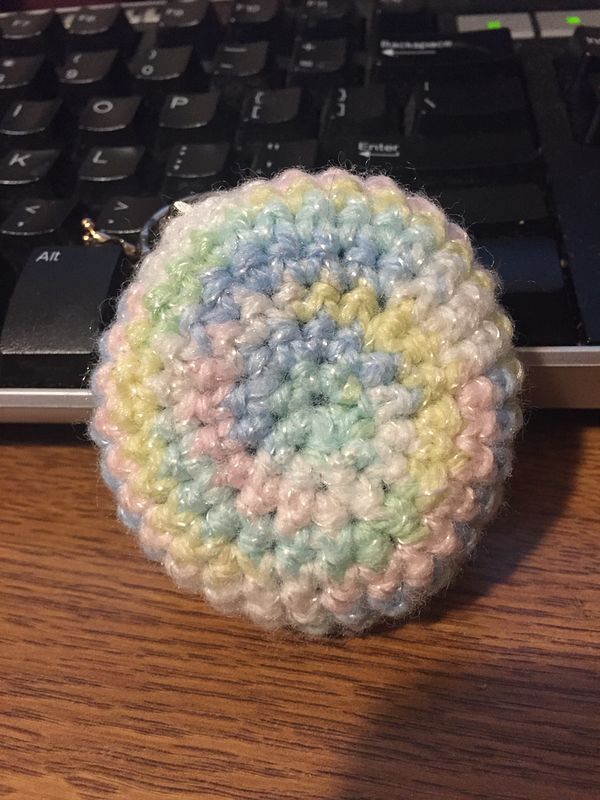
Basic principle, crochet a circle until if fits the back, make the sides, then finish off with a slip stitch.

You may want to randomise your increases to get more of a circle shape or stagger them i.e. instead of starting with a 2sc followed by 4 x sc, do 2 x sc first, then continue the (2sc, sc, sc, sc, sc) pattern because if you increase in the same spot, you’ll get a hexagon shape. I recommend using a cotton type wool and I used a 3.25 mm hook.

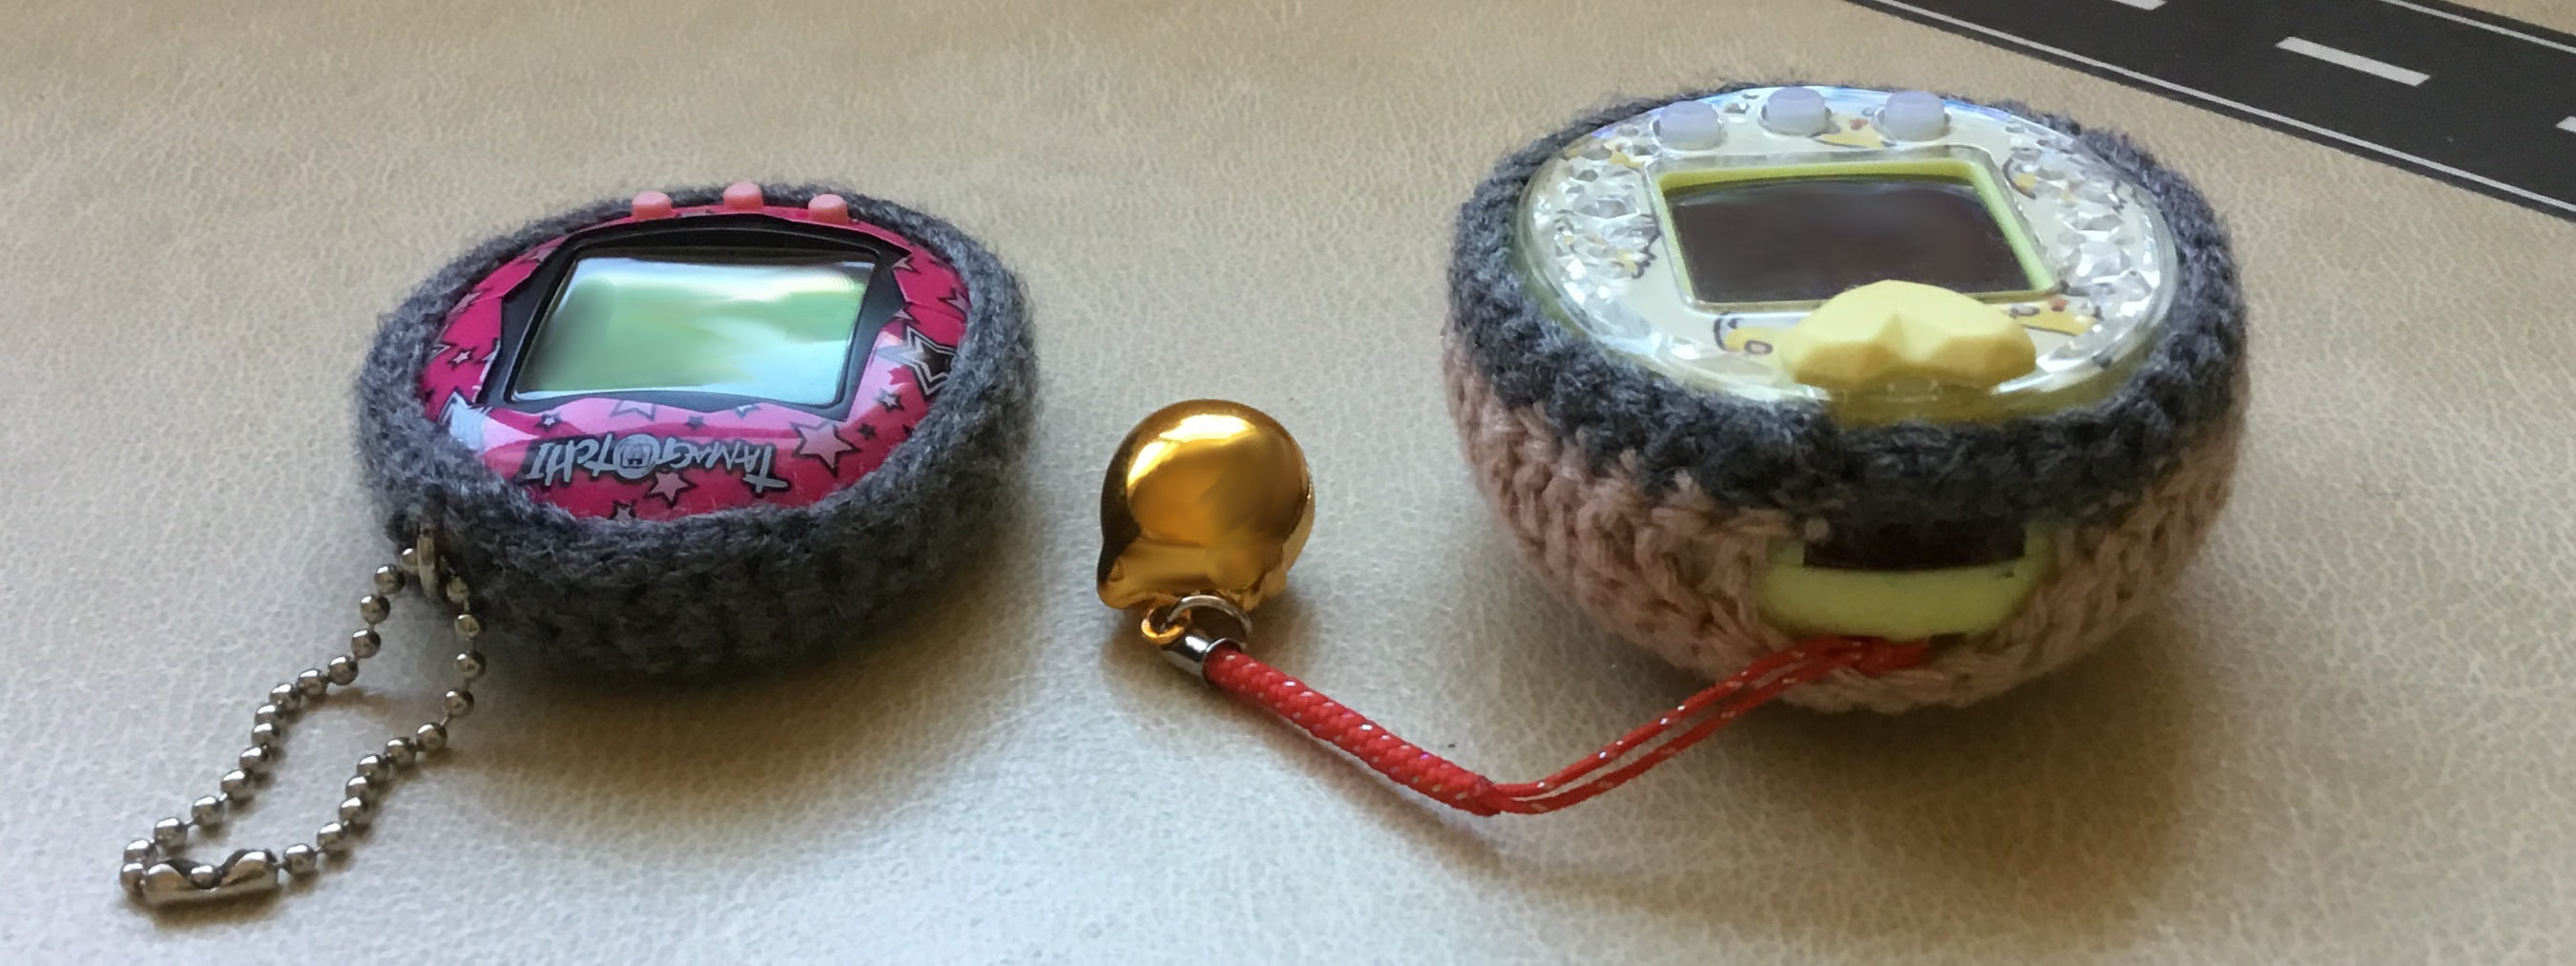
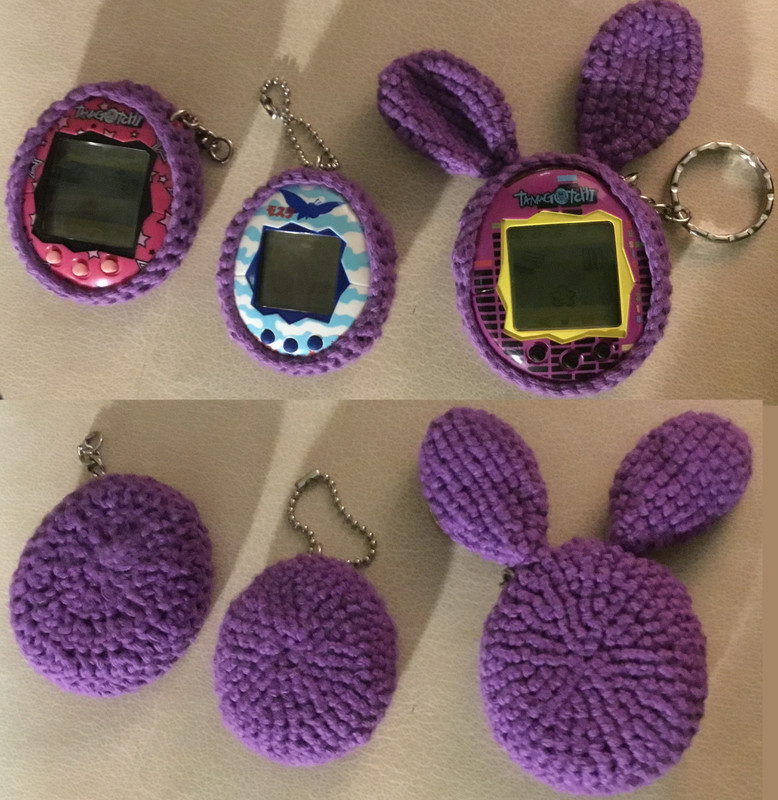
Connection models (half double crochet) (Pictured on the left)

  1. Magic loop with 10 starting sc (10)
  2. 2hdc in every stitch (20)
  3. (2hc, hdc) repeat (30)
  4. (2hdc, hdc, hdc) repeat (40)
  5. Hdc around (36)
    You want to work 4 decreases in at the points marked in the diagram
  6. For a keychain hole - ch 2, skip one stich and hdc in the next stitch
  7. For an antenna hole just chain 3 (or more) and skip 2

[*]Slip stitch around to finish (36)
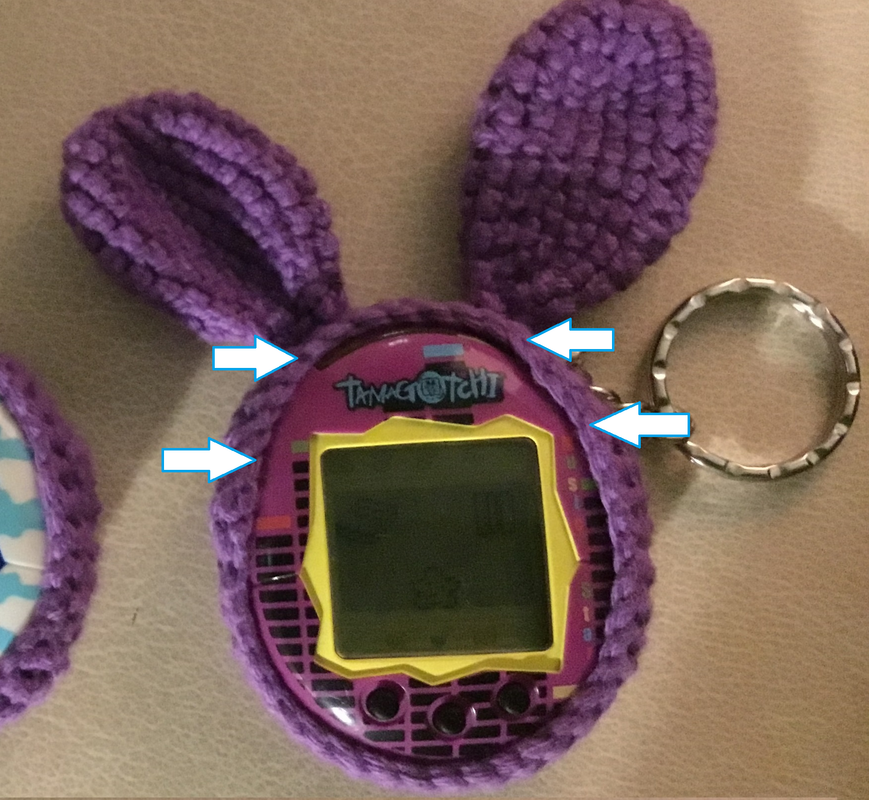

Bunny ears

  1. Magic circle (6)
  2. 2sc in every stitch (12)
  3. 2sc, sc (18)
  4. Sc (18) for 6 rounds
  5. Dec, 4 x sc and repeat until there are 6 stitches left
  6. Bind off leaving a long tail for sewing.
  7. You'll have to join with a couple of stitches to support the weight of the ears.

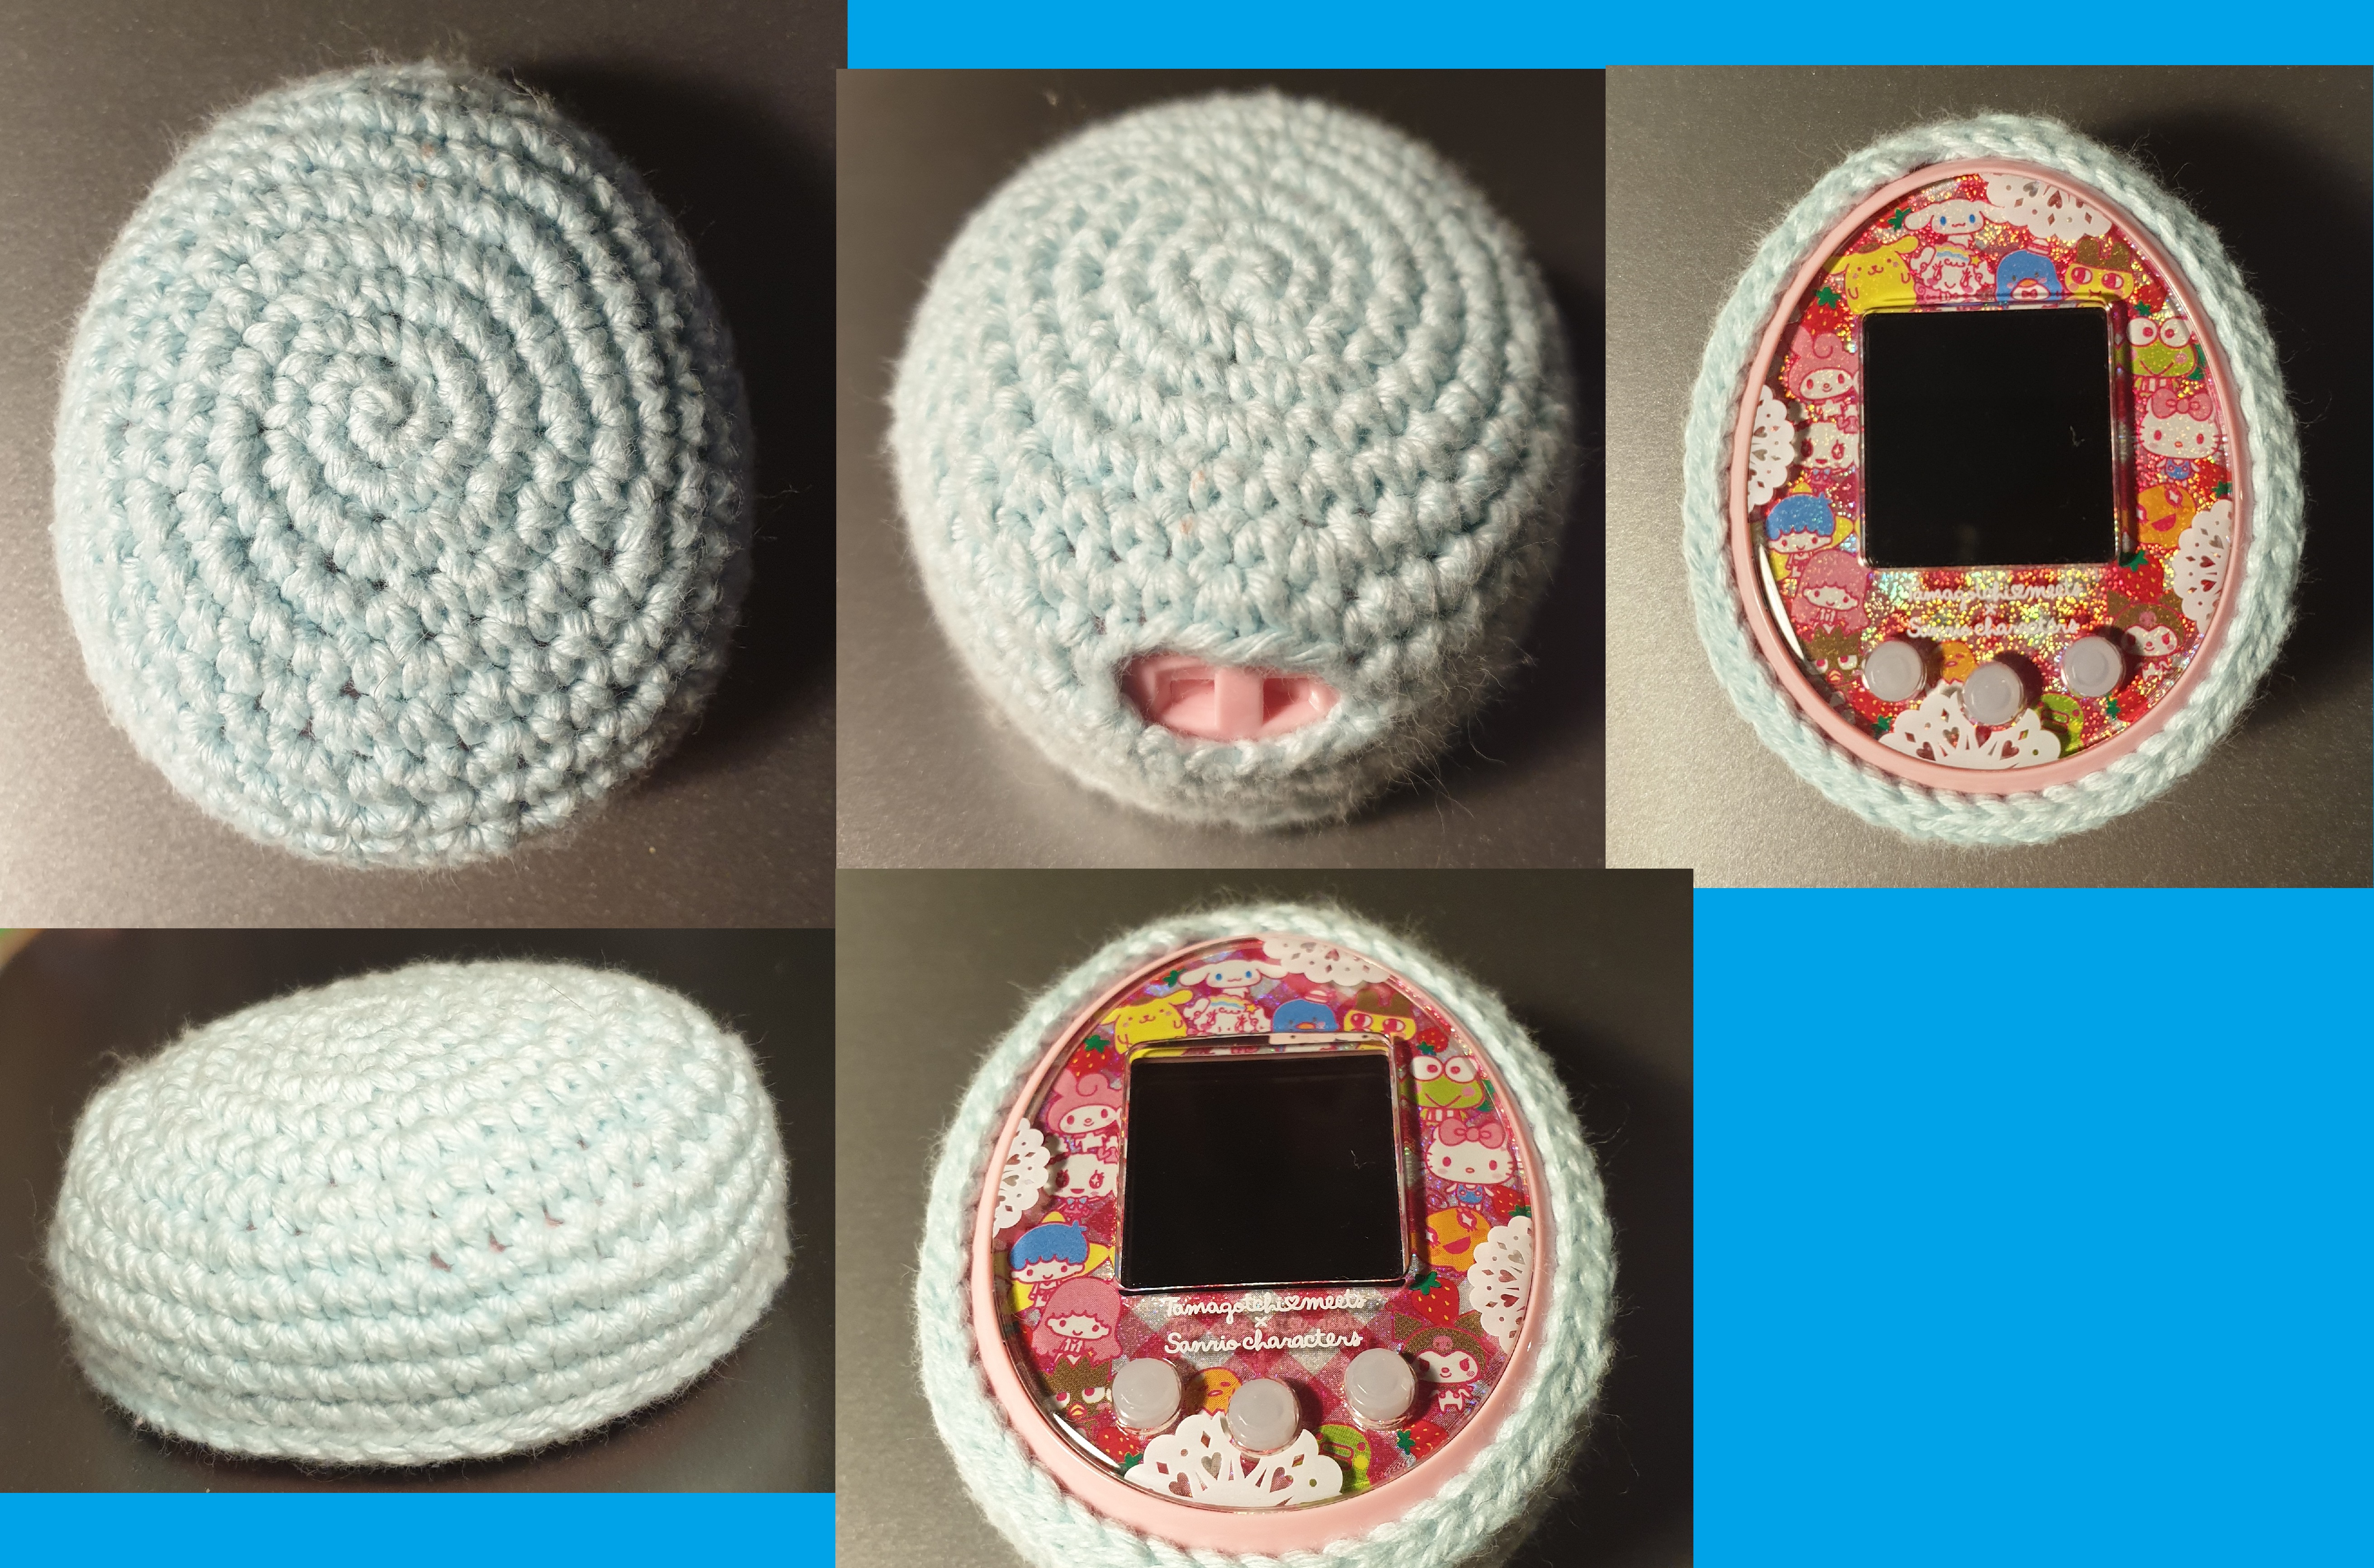
Vintage models (single crochet) (Pictured in the centre)

  1. Magic loop (6)
  2. 2sc in every stitch (12)
  3. (2sc, sc) repeat (18)
  4. (2sc, sc, sc) repeat (24)
  5. (2sc, sc, sc, sc) repeat (30)
  6. (2sc, sc, sc, sc, sc) repeat (36)
  7. (2sc, sc, sc, sc, sc, sc) repeat (42)
  8. 4 hdc, dc, 4 hdc, dc, 2 hdc, dc, 4 hdc, dc, hdc to finish the row (38)
  9. 6sc, dc, 4 sc, ch 3, skip 1, 4 sc, dc, 6 sc, dc, sc to finish the row
  10. Slip stitch around to finish
 
I don't tend to use cases myself, but it's really great to see someone putting in the effort to share patterns!

Just to clarify something, though: I presume that the crochet terminology used here is American, as opposed to British? (I actually learned the American terms myself, as most patterns and guides that I'm interested in tend to use them, but it's worth knowing that "double crochet" in British terminology is equivalent to what's called "single crochet" in the American terms, amongst other strange things.)

Also, your bunny-eared case is adorable. :lol:

 
I wasn't even aware there were different terms for US vs the UK, thanks for letting me know ^^

I am using the US crochet terms.

Here's the picture with the marked decreases I forgot to upload.

decreases.png


I'm trying to come up with a single crochet pattern for the connections, but I find that the cases tend to come out a bit loose.

I'll try and come up with a pattern for the Ps when mine arrives.

If anyone else has patterns or tips to share, please do!

 
Hello all, this is my first post, so bear with me.

I recently purchased a connection v2 on ebay, and love it!

The first thing I did was look up a crochet case pattern, as I want to protect it from more scratches than the ones it came with :/ (but, it was only $20!)

So, I stumbled across this pattern on TamaTalk!

As you said, when I tried to use this to create a case for the v2 it was loose. After bumbling for a bit with decreasing some stitches, I found that using a smaller gauge yarn works better. I had some old rainbow baby yarn laying around (unfortunately I don't know the exact gauge), and using that and a 4.25mm hook I created the case below. I used the pattern from the link above up till the row containing 30 stitches, then sc around until desired height, fasten off. Hope this helps, and I absolutely love the bunny ear case! Thank you for your pattern!

tama%20case%20front_zps5kjqx8sm.png


tama%20case%20backpng_zpsbpocor3m.png


The rainbow effect looks so good, I love it!

Using smaller gauge yarn is a great idea, thanks for the suggestion, I don't like using decreases so much because it makes small kinks in the circumference of the case. I found that decreasing earlier and then crocheting a few rows over them decreases the noticeability of the bumps, but I'll try your suggestion next time.

Thanks again :)

 
Came up with two new patterns and also found that the double slip stitch gives a nice, raised edge perfect for colour tamagotchis.

Connection models (single crochet)

  • Magic loop (6)
  • 2sc in every stitch (12)
  • (2sc, sc) repeat (18)
  • (2sc, sc, sc) repeat (24)
  • (2sc, sc, sc, sc) repeat (30)
  • (2sc, sc, sc, sc, sc) repeat (36)
  • (2sc, sc, sc, sc, sc, sc) repeat (42)
  • (2sc, sc, sc, sc, sc, sc) repeat (48)
  • (2sc, sc, sc, sc, sc, sc, sc) repeat (54)
  • (2sc, sc, sc, sc, sc, sc, sc, sc) repeat (60)
  • Sc all around (60)
  • Sc all around, decreasing every 7-8 sc

  • Make holes where appropriate

  • Keyhole (ch3, skip one stitch)
  • Antenna - experiment


  • You can either:

  • Double slip stich around (what I did in the picture)
  • Sc another round and then slip stitch (recommended)

Tamagotchi Ps (double crochet)

  • 12 dc in magic loop (12)
  • 2dc in each st (24)
  • 2dc, dc (36)
  • 2dc, dc, dc (48)
  • 2dc, dc, dc, dc (60)
  • Dc until 4 stitches remain, chain 5 and skip 4 to make hole for lanyard
  • *sc, sc, sc, sc, dec* continue until end of round
  • Double slip stitch to finish off

Pictures

t2aHQzI.jpg
3XK0lsh.jpg
kXzwXPB.jpg

I kind of don't like the huge hole on the Ps cover, and will probably use single crochet next time so I can make two individual holes for the IR port and the lanyard.

 
Last edited by a moderator:
Just an idea, but I wonder if weaving a small ribbon around the opening would help with the loose fit? It would look cute too.

 
These are great designs and so cute! I have been making cases for my Tamas for years and love to use soft and fluffy yarns as well as the I Love this Cotton yarn from Hobby Lobby. It's so fun to make characters and cute kawaii designs. don't like doing decreases, so what I've found is if I only increase the first 3 rows ( 2sc in each, 2 sc in every other & 2 sc in each third) and then do my very last row very tightly, it works out perfectly without having the lumps from decreases. It fits nice and snug and if not then I just frog that last row and do it with a smaller hook.

 
Just an idea, but I wonder if weaving a small ribbon around the opening would help with the loose fit? It would look cute too.
I've seen that on some handmade cases and it's really cute! There's also a flat ribbon variation but I can't seem to find any pictures.

tumblr_oefi2mIhLh1svyohdo1_1280.jpg

These are great designs and so cute! I have been making cases for my Tamas for years and love to use soft and fluffy yarns as well as the I Love this Cotton yarn from Hobby Lobby. It's so fun to make characters and cute kawaii designs. don't like doing decreases, so what I've found is if I only increase the first 3 rows ( 2sc in each, 2 sc in every other & 2 sc in each third) and then do my very last row very tightly, it works out perfectly without having the lumps from decreases. It fits nice and snug and if not then I just frog that last row and do it with a smaller hook.
I found that decreasing evenly and then crocheting another row or two on top of that hides the decreases pretty well and makes the fit very snug, but I'll give it a try with a smaller hook too!

Found some youtube tutorials on cases that might be useful:


//www.tamatalk.com/IB/applications/core/interface/js/spacer.png

 
Last edited by a moderator:
I've seen that on some handmade cases and it's really cute! There's also a flat ribbon variation but I can't seem to find any pictures.

tumblr_oefi2mIhLh1svyohdo1_1280.jpg

I found that decreasing evenly and then crocheting another row or two on top of that hides the decreases pretty well and makes the fit very snug, but I'll give it a try with a smaller hook too!

Found some youtube tutorials on cases that might be useful:


//www.tamatalk.com/IB/applications/core/interface/js/spacer.png

That turned out SO cute!!!!!

 
Just a quick note to the other Guides: I've re-opened this per request because Eggiweg has new content to add, and crochet patterns don't go out-of-date like Tamagotchi information in old threads can. ;)

 
Tamagotchi m!x/meets case

I used a 2.3 mm hook and 8 ply cotton yarn for reference.  Crochet in both loops unless stated otherwise.

Again, when following steps 3-5, you may want to offset your increases so that they don’t occur in the same place to get a more circular shape rather than a hexagonal shape.

  1. Magic loop (6)
  2. 2sc in every stitch (12)
  3. (2sc, sc) repeat (18)
  4. (2sc, sc, sc) repeat (24)
  5. Continue consecutively increasing until you are increasing in every 8th sc (54)
  6. Chain 6 sc and skip 6 stiches to create a hole for a strap, 11 x sc, 2sc, (sc, sc, sc, sc, sc, 2sc) repeat 4 times, 8 sc
  7. Sc all around
  8. Sc all around
  9. Sc all around
  10. Slip stitch in both loops
  11. Slip stitch in back loop (as shown by red arrow in photo)
  12. Finish off and weave in the yarn tail

V1ZIepm.jpg
GLVQKlT.jpg


Last edited by a moderator:
Status
Not open for further replies.

Latest posts

Back
Top