mimitchis_rock13579
Well-known member
The Tamagotchi Connection/Plus's inner beauty is incredible. I currently know of 2 ways to experience it.
How to De-Bug your Tamagotchi
You'll need:
2. Take out the battery, you will not need it in any way whatsoever.
3. Unscrew the 4 smaller screws using the precision screwdriver. You will need a lot of light to see where your screwdriver is going.
4. If you're doing this right, you should see green, plastic boards with wires and battery-shaped things on it. That's the circuit board. Think of where the battery would be. In the lower left corner of it's usual location, there are 2 semi-circles and the word DEBUG over them. If you are debugging a Plus, those semi-circles are squares instead.
5. Using the pencil, rub those two circles or squares a few times.
6. Put the Tamagotchi back together and put the battery in.
7. Start up your Tamagotchi and choose "RESET". Set the time, date and your birthday as you normally would.
8. Your Tamagotchi should hatch immediatly, otherwise repeat steps 1-7. If it did, press "A" continuously to choose your Tamagotchi character. When you are happy with your choice, press "B" and name your Tamagotchi.
How to Change the Background
You will need:
2. Carefully move the circuit boards without breaking wires or circuit boards. This is why you'll need dry hands, otherwise the circuit boards and wires will short out.
3. A thin paper then some pixels and clear plastic is the screen. Flip the paper over with much care.
4. Put the Tamagotchi back together and turn your Tamagotchi over to see if the surgery went well. If not, repeat all the steps.
5. Start up your Tamagotchi as you regularly would.
How to De-Bug your Tamagotchi
You'll need:
- Tamagotchi (Connection or Plus only, don't bother opening up a Connexion or old Tama)
- Phillipshead screwdriver
- Precision screwdriver (1.4 to 3.0 mm is always the right choice)
- Pencil
2. Take out the battery, you will not need it in any way whatsoever.
3. Unscrew the 4 smaller screws using the precision screwdriver. You will need a lot of light to see where your screwdriver is going.
4. If you're doing this right, you should see green, plastic boards with wires and battery-shaped things on it. That's the circuit board. Think of where the battery would be. In the lower left corner of it's usual location, there are 2 semi-circles and the word DEBUG over them. If you are debugging a Plus, those semi-circles are squares instead.
5. Using the pencil, rub those two circles or squares a few times.
6. Put the Tamagotchi back together and put the battery in.
7. Start up your Tamagotchi and choose "RESET". Set the time, date and your birthday as you normally would.
8. Your Tamagotchi should hatch immediatly, otherwise repeat steps 1-7. If it did, press "A" continuously to choose your Tamagotchi character. When you are happy with your choice, press "B" and name your Tamagotchi.
How to Change the Background
You will need:
- Tamagotchi (any Tama will do, even old ones!)
- Phillipshead screwdriver
- Precision screwdriver
- Light
- DRY HANDS (very important to the fate of your Tamagotchi)
2. Carefully move the circuit boards without breaking wires or circuit boards. This is why you'll need dry hands, otherwise the circuit boards and wires will short out.
3. A thin paper then some pixels and clear plastic is the screen. Flip the paper over with much care.
4. Put the Tamagotchi back together and turn your Tamagotchi over to see if the surgery went well. If not, repeat all the steps.
5. Start up your Tamagotchi as you regularly would.


 :mimitchi: :mimitchi: :mimitchi: :mimitchi:


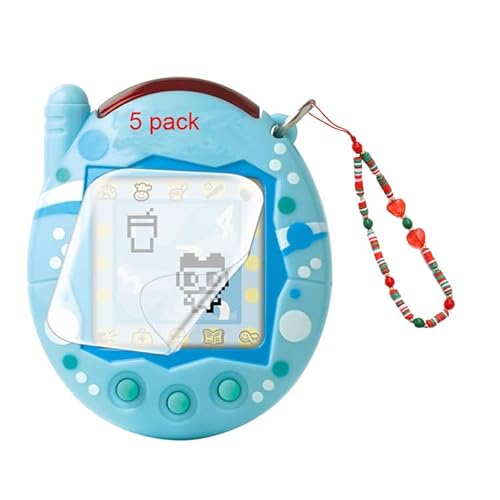
![Vaxson 3-Pack Screen Protector, compatible with Tamagotchi Connection Version 3 V3 TPU Film Protectors Sticker [ Not Tempered Glass ]](https://m.media-amazon.com/images/I/41zSjSBo1mL._SL500_.jpg)


![Vaxson 3-Pack Screen Protector, compatible with Tamagotchi Connection Version 5 Celebrity /V5C/V5.5/Dream Royal Family Plus TPU Film Protectors Sticker [ Not Tempered Glass ]](https://m.media-amazon.com/images/I/51ipUKPjAWL._SL500_.jpg)


![Vaxson 3-Pack Screen Protector, compatible with Tamagotchi Connection Version 4 / Jinsei Version 4 V4 TPU Film Protectors Sticker [ Not Tempered Glass ]](https://m.media-amazon.com/images/I/41QOWIxxshL._SL500_.jpg)


