Thats so funny! I actually just thought about it last weekend when I was bored. It iterally only took about half an hour since it's so tiny. It's worked in the round so quick, and no peices to sew together.
I basically used a ball of what is called crochet thread, and I beleive a size 3 or 3.5 hook. Pretty small but not hand cramp small lol.
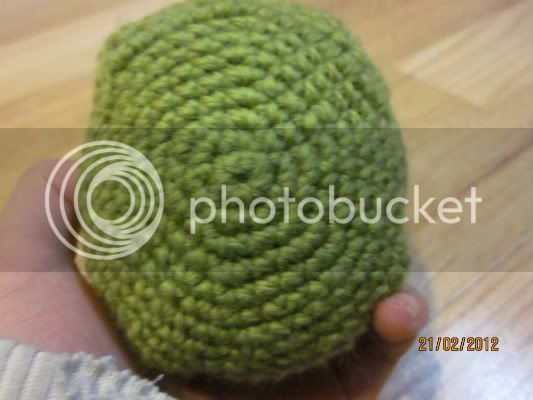
You start with a chain of 3, then chain two more. In the third loop from the hook insert hook and then single crochet to the end of the row. When you get to the end, single crochet three times in the same spot then continue to single crochet once until you get to the other end. Keep doing this same thing unntil the peice is just about wide enough to the size of the back of my tama. You dont want it to be bigger than the back because then it wont fit snug.
Fow me it was about 6 rounds. This might vary on the size of yarn you use.
At that point the next round instead of increasing three in the end stitches, you are going to increase two on either side of that one. That is what gives it it's final shape.
Next two rows single crochet all the way around, no increases anywhere.
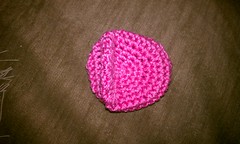
You have now completed the backside. The rest is just as easy
")
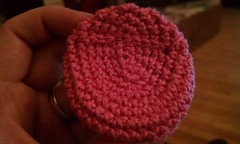
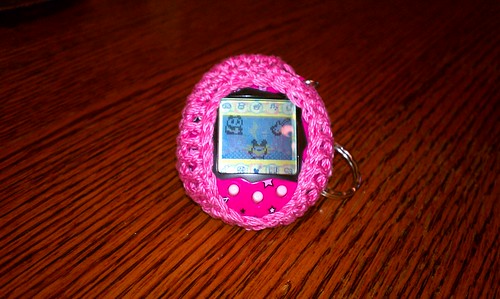
Single crochet next two stiches, and then you should be just to the side of the top side of the oval, now we make the little hole for the keychain to fit through. Chain two, Skip one stitch and then single crochet into the one following that one you skipped, voila. button hole
Single crochet next 9 stitches. Skip a stitch. Single crochet next two stitches then skip a stich. Now single crochet up the side and do the same at the top as you just did at the bottom. This should start to make it curve in a little, tightening up the bottom and top to fit your tama snug. Go one more round doing the same thing, decreasing at the top and bottom.
Next part is just a tad bit tricky. You should be near the button hole, Head about three stitches past it in single crochet. Triple Crochet next 5 Sttches. Then single crochet accross the bottom decreasing by skipping the stitch in the center of the bottom. XX0XX Like this
The circle is the skipped stitch. Triple crochet next 5 stitches and then single crochet up to the top doing the same 1 decrease as at the bottom.
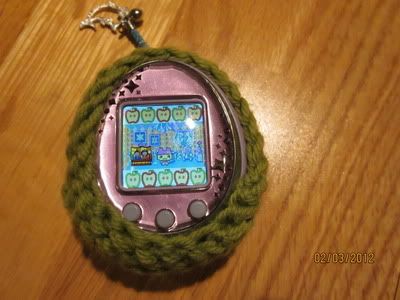
At this point you can try it on your tama to see if it is about the same size. If it's a little bit big thats okay because the next step will take care of it. If you want it to cover more of the front, you can go around one more time, only this time using a different stitch. I don't know the name of it but basically, you put your hook through a stitch (always both loops) then grab the yarn and instead of making a loop pull it straight through to the top and through the loop on you hook. This method just basically carries the yarn and only increases the length of your work a tiny bit. I liked it because it firmed up the edging on this peice. When you finish, you can hide your yarn nicely and voila. Unless you want the kickstand thingy..for that we continue on
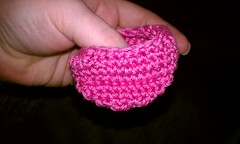
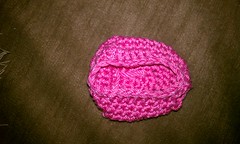
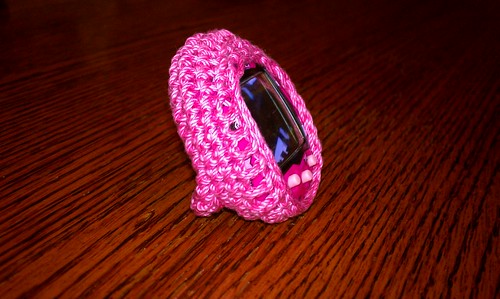
To make the little kickstand part I'll post a pick to show where I Crocheted a fold in the yarn. You just continue with the yarn from where you finished cutting off the yarn about 12 inches long. Weave in the yarn on the inside about 3 rows down where we will start to seam the fold. You can clearly see when you rotate the case that it is about 4 rows tall. So to find out where your fold is going count four rows and then that is where the seam will be on that part.Pich the bottom together starting at that point, and the with the yarn on one end of the seam, begin to do the stitch as described above that we did around the screen portion. Keep your seam straight. You can check this by looking at the rows on the front.
I posted as many up close pics as I couldt get, hopefully they all show up here so you guys can see the finished product
Fell free to let me know if you get stuck anywhere!


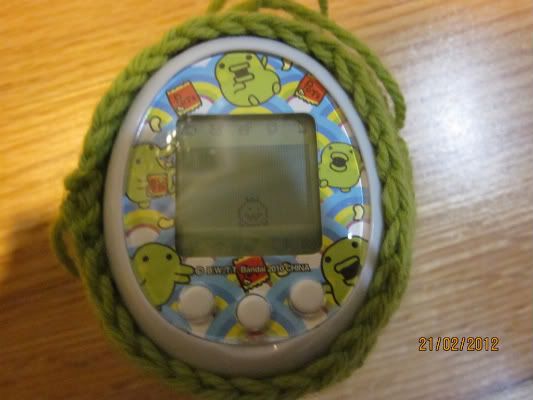
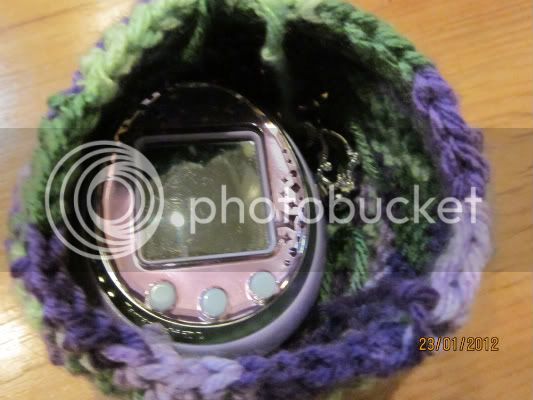


 but the new one fits perfectly!