This is what Togetchi123 said about that, I want to quote it here:
I'm sorry for leaving this topic for so long, I just needed a break from TamaTalk after my school projects started building up on me. As my computer is being repaired (i'm using my sis's), I can't load any faceplates on for the time being. What I can do is to tell you how to print and cut out the faceplates.
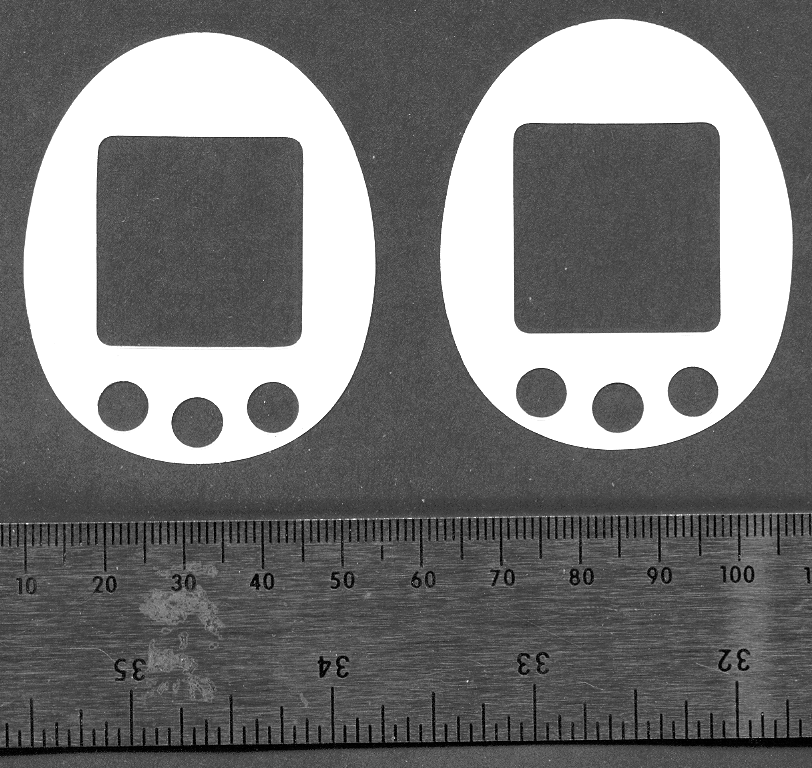
Printing the faceplates out is quite easy. Right click on the faceplate pictures above (over 50 to chose from!!), then click on "copy". Then open Microsoft Word or the Mac equivalent and open a new document. right click anywhere on the page and then select "paste". Then resize the picture to 5.8cm(height)x4.73cm(width) once you are done placing all your faceplates, click on print and wit for the process to finish.
Now to cut them out:
Step 1 : Cut out the main body of the faceplates from the paper, taking care not to accidentaly cut the other faceplates in the process.
Step 2 : Carefully stick a pencil through the middle of the faceplate(the hole where the screen is supposed to be),preferably with an eraser or something soft to prevent the pencil from going to far.
Step 3 : Using a pair of scissors, cut out the centre square CAREFULLY.
step 4 : Now for the most tricky part, the button holes. There are two methods to do this, either:
A: Using a one-hole hole puncher (fast but there is a high chance of missing your mark.
OR
B: Using a circle stencil and an empty ballpoint pen. Place the stencil hole with the circle size closest to the button hole size (9/32 of an inch does for me). Then use the ballpoint pen and draw circles around the button hole using the stencil until 'pop!' a perfect circle comes off.
And then you can just use the faceplate just like any other!!


")